Monitor Workflows
B2Data Manager allows managers to create new workflows, import an existing workflow, display disk usage, track workflow executions, control workflow triggers and edit their permissions.

Development Tab
All created workflows will be listed in this tab, here you can view and keep track of all the existing workflows that were created by all the users. The workflows in the list can be sorted, filtered and searched for.
Filter options on the left side:

Options in detail:
-
Display All Workflows created by all users, or choose to display only the workflows created by the current user
-
Filter workflows by Deployed to Production, Undeployed or All
Labels:
-
Workflows can be labeled
-
Labels menu can be used to filter workflows by a certain label
Example of filtering workflow by label “Test Label”:

On the right side appears a field to filter by workflow id or name.
Workflow actions menu can be displayed by a click on the 3 dots, or right click on the row:
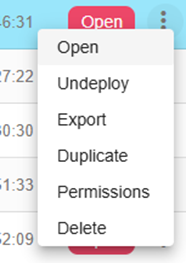
Manager menu actions:
-
Open - Open the workflow in a new tab (or double click on the table row)
-
Undeploy - Undeploy the workflow if it’s deployed to production. It will be removed from the Deployed to Production tab list (and from B2Data Reports in case it was published)
-
Export - Open “Export Workflow” dialog, that allows the user to export the workflow as a compressed file including the data from the development
-
Duplicate - Create a duplicate of the workflow
-
Delete - Permanently delete a workflow (also by selecting a workflow -> Delete button)
Deployed to Production Tab
The purpose of this tab is to display and keep track only of the deployed to production workflows and to show their live data, status, executions and run iterations. The user can execute actions such as Start/Stop a workflow, run an iteration and more.
On the left side appears the filter options:

Options in detail:
-
Display All deployed workflows created by all users, or choose to display only the deployed workflows created by the current user
-
Filter deployed workflows by Status: Live, Offline or All
On the right side appears the Search field to filter by workflow id or name.
An example of deployed workflows:

Explanation of Manager actions:
Start - Changes the workflow status to Live and enables the user to run new iterations and to start triggers (if available).
Stop - Changes the workflow status to Offline, and running triggers will be stopped.
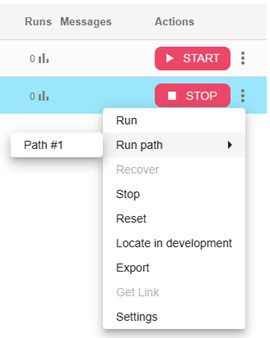
Manager menu actions:
-
Run - Create a new iteration of executing the workflow nodes
-
Run Path - Choose a certain path of nodes to run
-
Recover - In case the workflow execution failed for some reason, start the workflow again
-
Start/Stop - Change the status of the workflow from Live to Offline and update the triggers accordingly (if available)
-
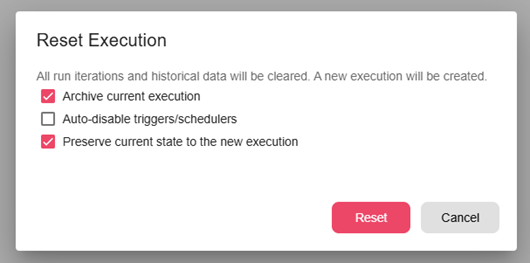
Reset - Reset the workflow execution and start a new one. A confirmation dialog is opened so the user may choose Reset Settings.
Confirmation dialog:
-
Archive current execution - Archive current execution so the user may see it again in the future with its iterations. The execution is deleted (cannot be undone) after Reset if this setting is not checked
-
Auto-disable triggers/schedulers - If the workflow contains active trigger nodes, this setting determines whether to auto-disable the triggers after the Reset is done, or not
-
Preserve current state - Keep the current state of existing triggers and use it in the new execution
-
Locate in development - Switch to the development tab and filter by the chosen workflow id
-
Export - Open “Export Workflow” dialog, that allows the user to export the workflow as a compressed file including the data from the development
-
Get Link - Create a link for the deployed workflow that it may be accessed and run by users outside of B2Data Manager and B2Data Builder
-
Settings - Open workflow settings dialog.
B2Data Reports
B2Data Reports contains all system reports placed in a folder called “All Reports”, this folder is read-only which means the user cannot delete reports from, only those with permissions to B2Data Manager page can unpublish or undeploy workflows in order to remove them from “All Reports” folder. Each report is a published workflow. The user can run reports, create folders and add reports to the favorites tab. The reports are in read-only mode and may have input fields that the user may enter values to run them as desired.
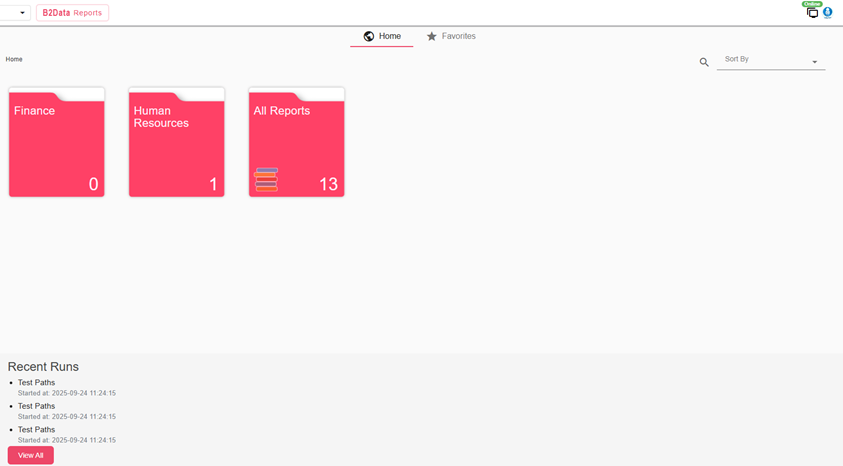
The number appears on the folder is the number of reports contained inside.
“Recent Runs” on the bottom contains a list of recent workflows that were run by users or triggers, displaying workflow name and the time the run was started. “View All” takes the user to the B2Data Runs page which displays all the runs in detail.
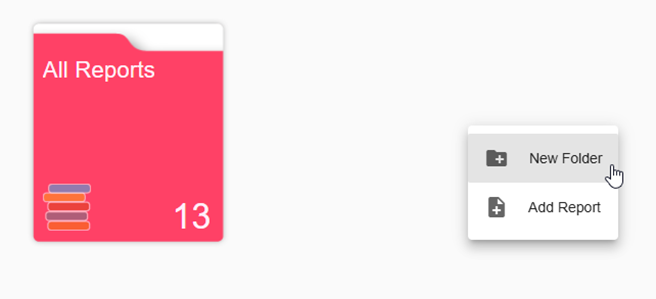
Create a new folder
Right mouse click, then select “New Folder”. You can create a folder inside another folder as well.
A new dialog will be opened, where you can insert the new folder name and the folder description.
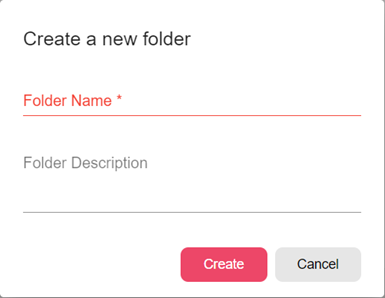
A new empty folder is created, the user can open it by clicking.
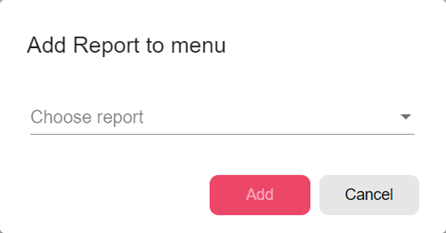
Add report to a folder:
Add report to a folder by mouse right click in this folder and then choose “Add Report”
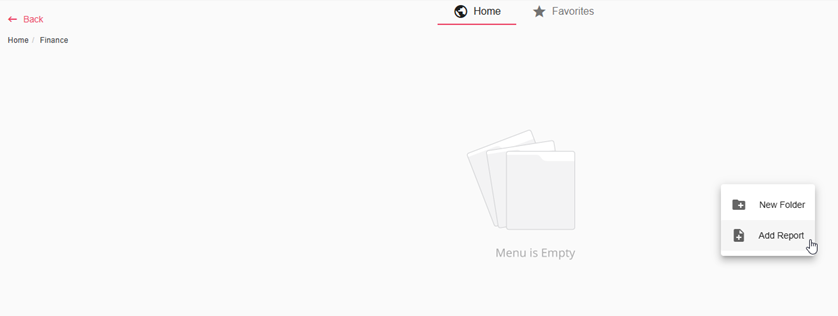
A dialog is opened and the user can choose which report he wants to add to this folder from the list of all published reports: